A few weeks ago, while I was in the kitchen mashing garlic potatoes for dinner, I suddenly broke a nail. My reaction was so dramatic that my husband thought I had seriously hurt myself. Physically, I was fine—but my nail was not.
Many people, especially men, don’t realize how frustrating a broken nail can be. You spend weeks growing them out, keeping them even, and filing them to prevent snags. Some even take vitamins to help them grow stronger. So when one breaks, it feels like a real setback.
Besides, having one short nail among a set of perfectly shaped ones isn’t ideal. While no one else may notice, it can still be annoying.
Luckily, there’s a quick fix. If you’re careful with your hands, the “tea bag trick” can help you get through an important event without anyone noticing the damage. The only requirement is that part of the nail is still attached.
Here’s how to do it:
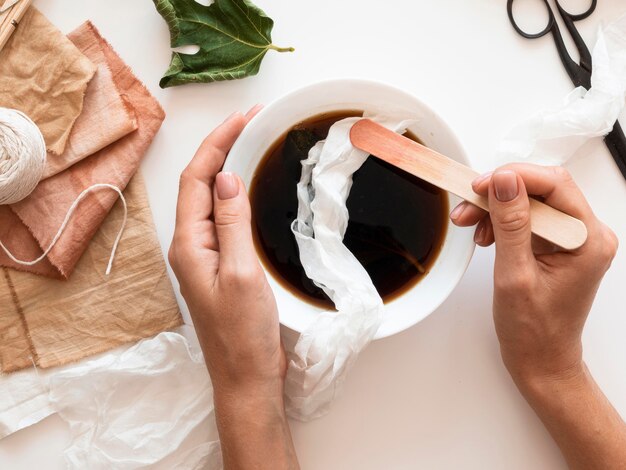
First, gather your supplies—scissors, a new tea bag, and clear nail polish.
Cut a small corner off the tea bag and save the tea for later. Then, trim a piece of the tea bag large enough to cover the crack in your nail.
Apply a thick coat of clear nail polish over the broken nail. While it’s still wet, place the tea bag patch over the crack and use the polish brush to smooth it down, removing any bubbles.
Once it’s in place, apply another generous coat of clear polish and let it dry completely. Follow up with a third coat for extra strength.
After everything is dry, apply your regular nail polish on top. This should hold for a few days, giving your nail time to grow out so you can trim it properly. If needed, repeat the process until your nail is back to normal.